Connect S3 Bucket to EC2 Instance with IAM role
Streamlining S3 to EC2 Integration with IAM Role

As a seasoned senior web developer with a wealth of experience in Python, Javascript, web development, MySQL, MongoDB, and React, I am passionate about crafting exceptional digital experiences that delight users and drive business success.
In this guide, I'll demonstrate the step-by-step process of creating an S3 bucket, setting up an EC2 instance, establishing an IAM role for EC2, attaching IAM roles to EC2 instances, and more. Before starting, ensure you have an active AWS account and familiarity with navigating AWS services using the search bar. Additionally, we'll utilize AWS CLI to upload an object to S3 and retrieve various objects from it. Make sure you are logged into your AWS account from the root user.
Create an S3 Bucket
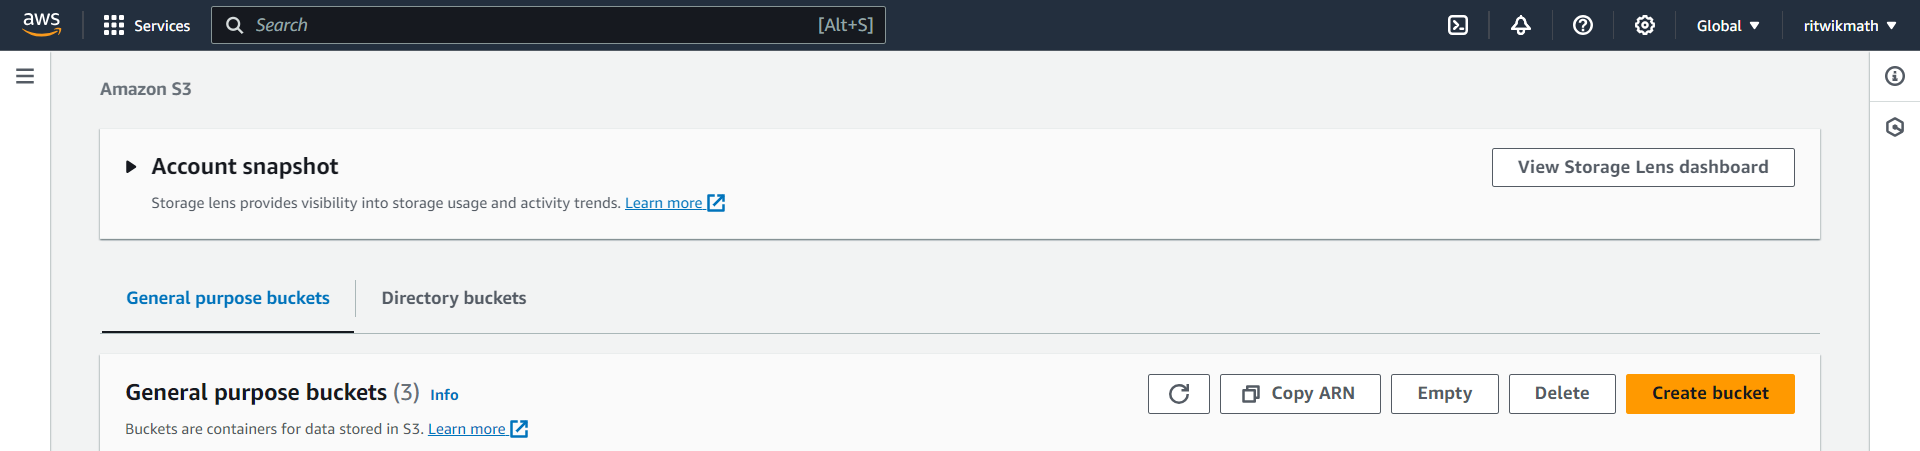
Open the S3 Buckets page. Here you will get an Create Bucket option. Click on it.
First, choose the region from where you want to create your bucket. Then give your bucket a unique name. This name should be unique for all AWS accounts globally. I am naming it ec2-access-097654, the last digits to make it unique. Then create the Bucket. Make sure Block all public access is checked.
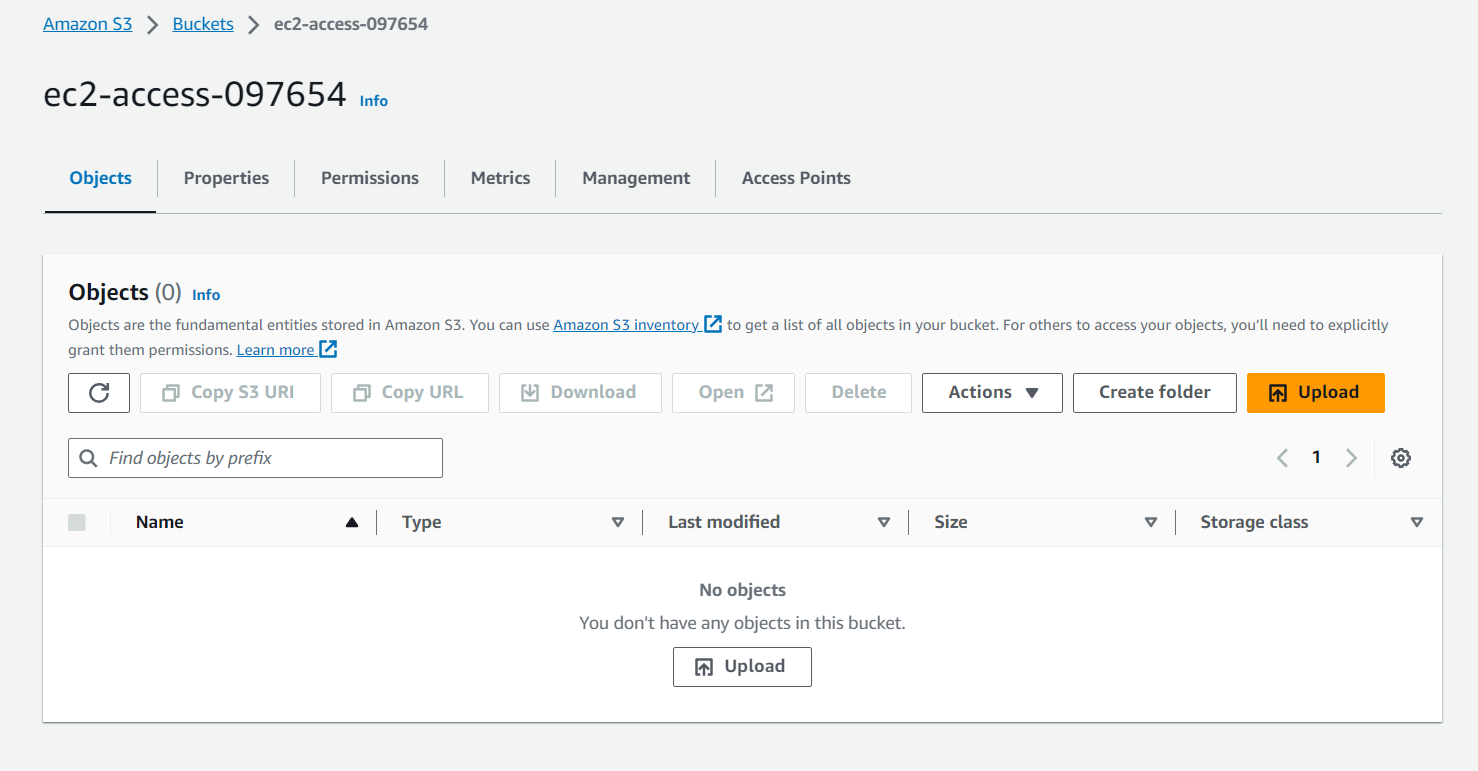
The bucket is created and it is empty for now.
Create EC2 Instance
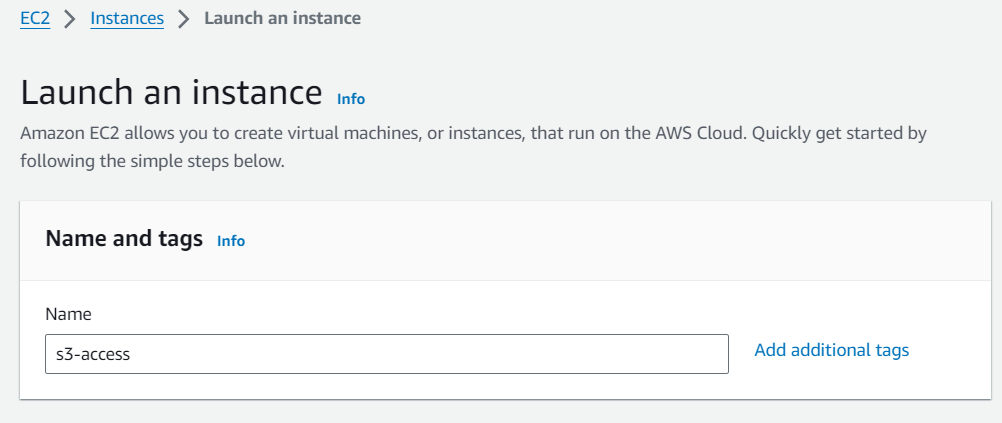
Go to the EC2 instance page. Click on Launch Instances button. In the launch instance form, give the instance a name.
Select Amazon Linux OS image (can choose others). Either of the architectures (x86 or Arm will work).

Then select an instance type. As we will use this instance for testing, low configuration types would be sufficient. Select either macro or nano. I am selecting t2.micro.

Then choose a key pair. If you do not have any existing key pair then need to create one.
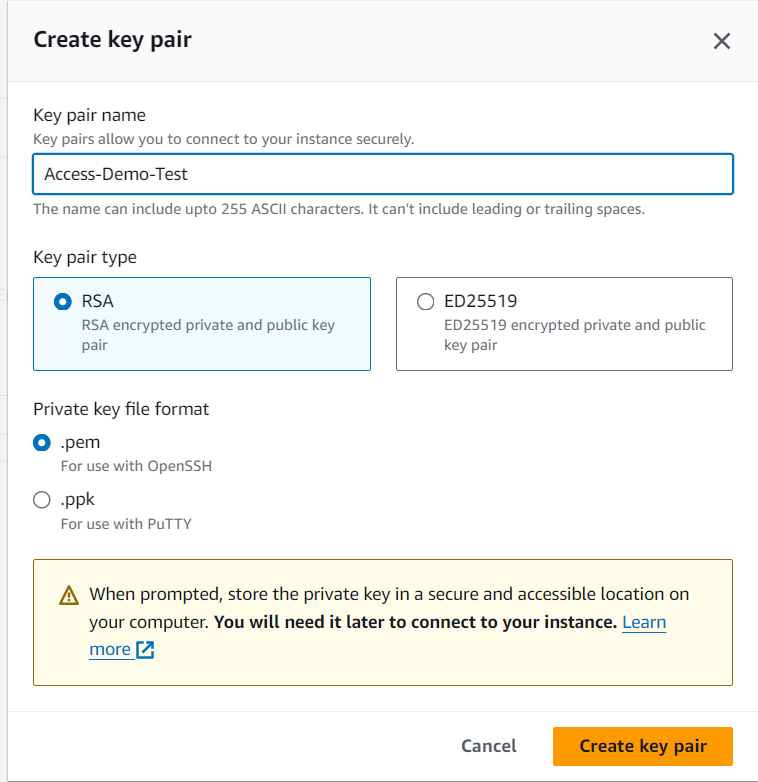
Give the key-pair a name and click on Create key pair. Store the .pem file in a secured location.
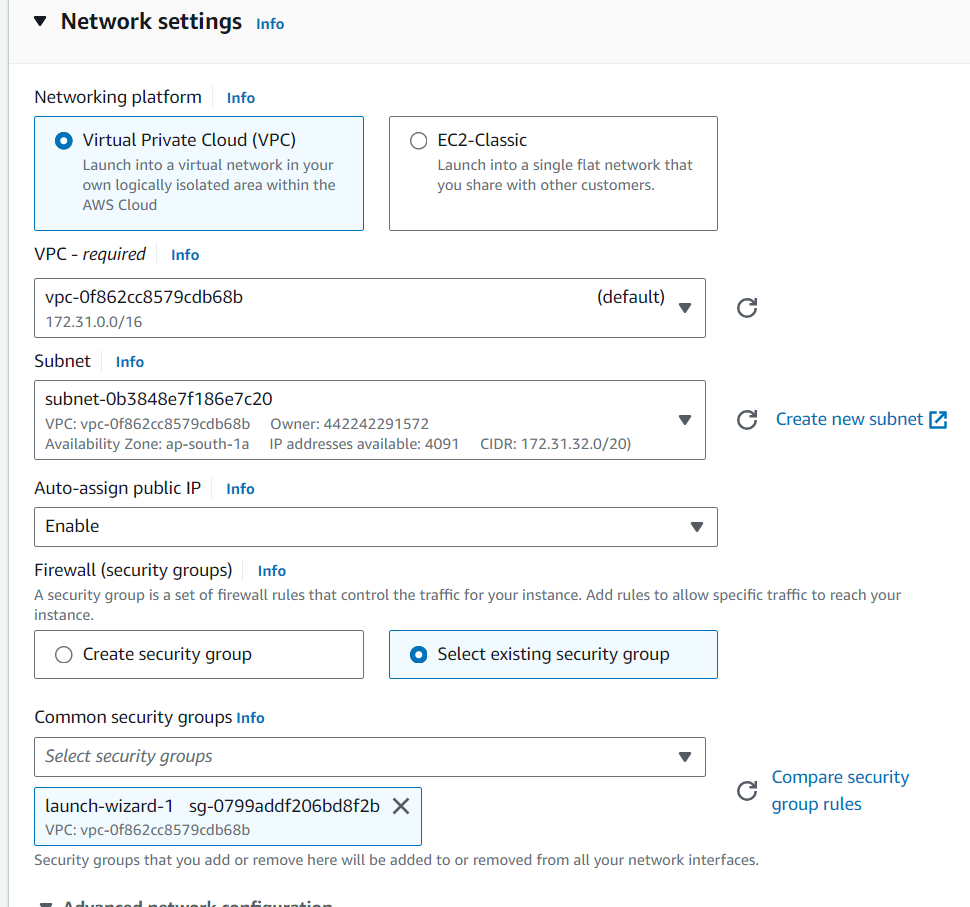
In the network settings, select a VPC and Subnet. If Subnet does not exist then you need to create one. I already had a Security Group, but if you don't select Create security group option. Leave other settings as it is and click on Launch Instance button in the bottom right corner. To spin up the server it will take few minutes, in the mean time, let's create the IAM role.
Create IAM Role
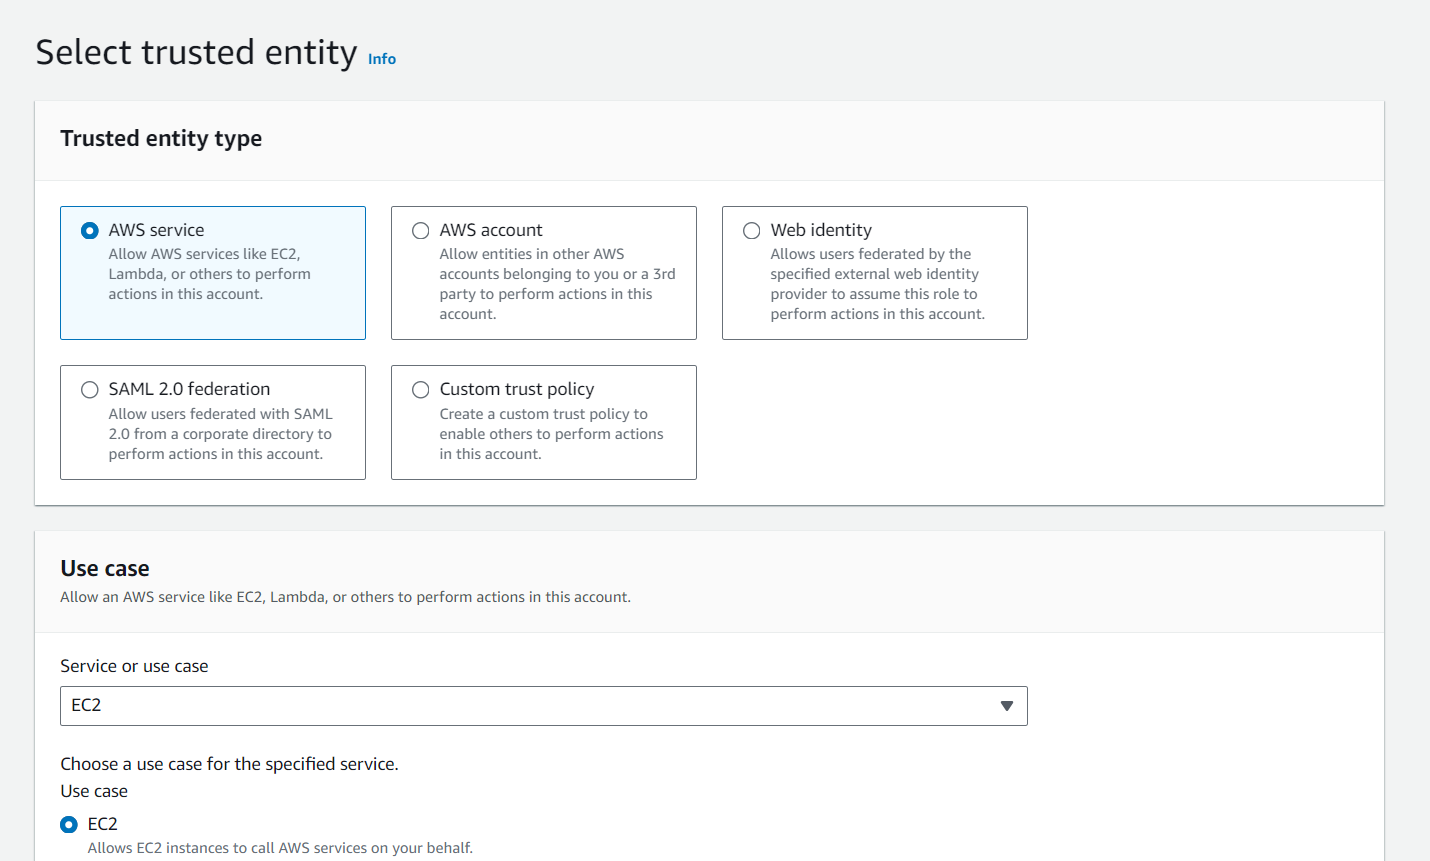
Go to the IAM Roles page and click on Create Role button.

Choose the below options in the create role page.
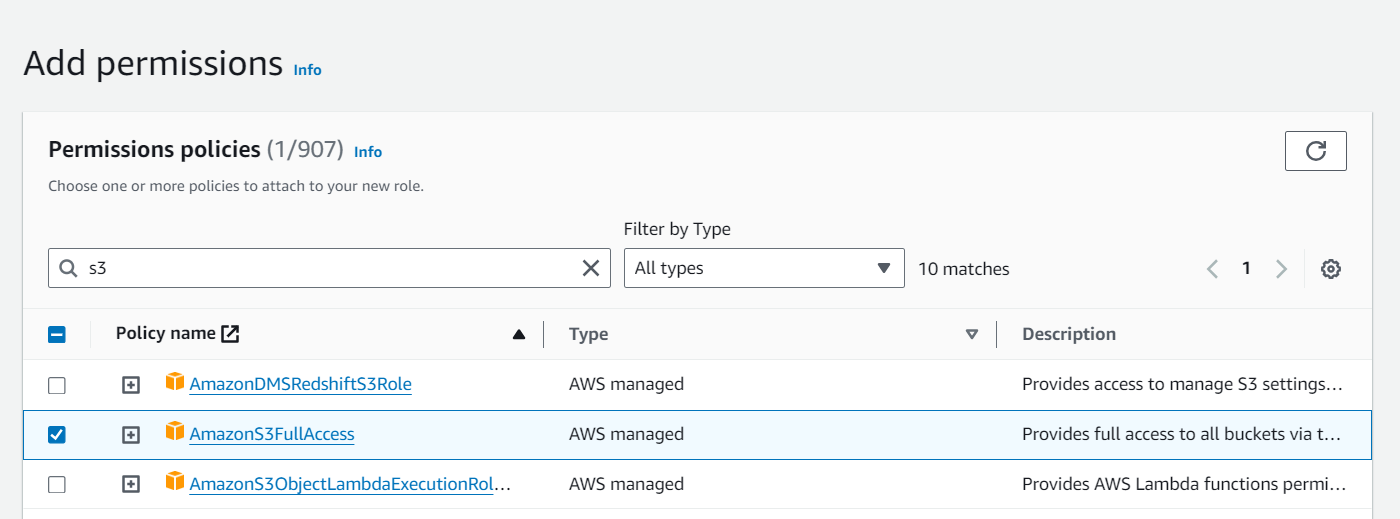
Click on next. In the next page, you will see a list of policies. Search for s3. Select AmazonS3FullAccess option.
Click on Next. On the next page, give the role a name. And add a tag.
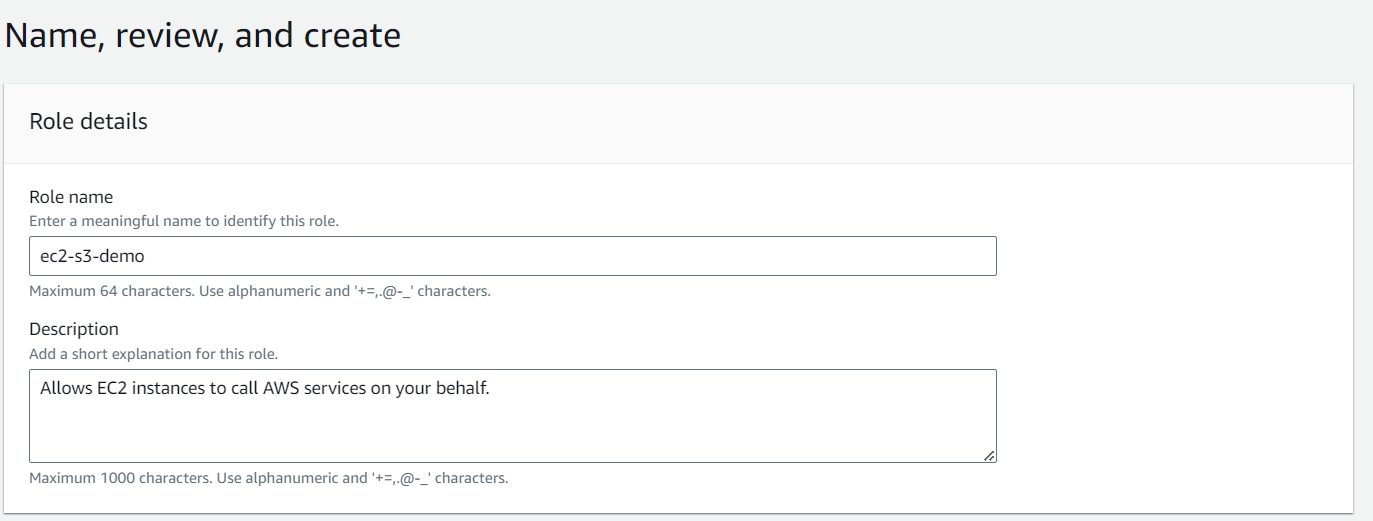
Click on Create.
Test if EC2 Can Access S3 without Role
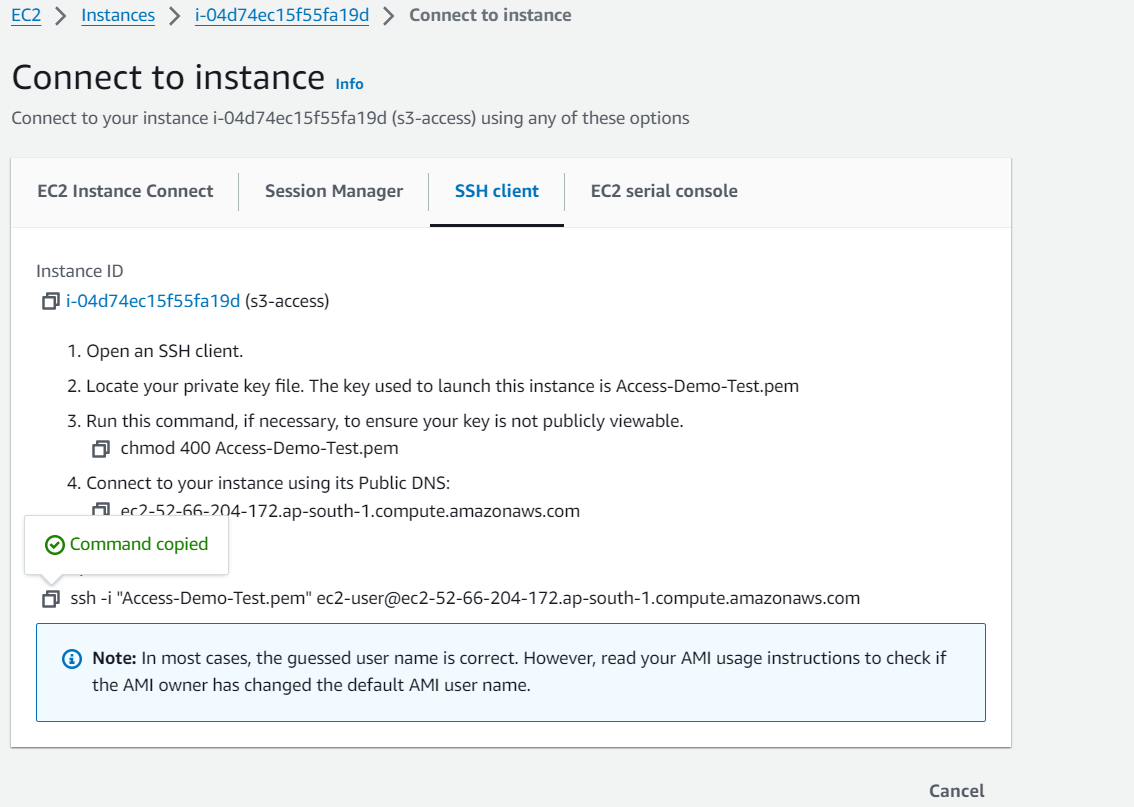
To make sure, AWS ec2, cannot connect to an S3 bucket by default, we will connect to the instance using Open SSH. Go to Instance Connect page and copy the command. Then run the command in the directory where you downloaded your .pem file.
Now run aws s3 ls to check it works or not.

We cannot access AWS S3 by default from an AWS instance.
Attach IAM Role to EC2
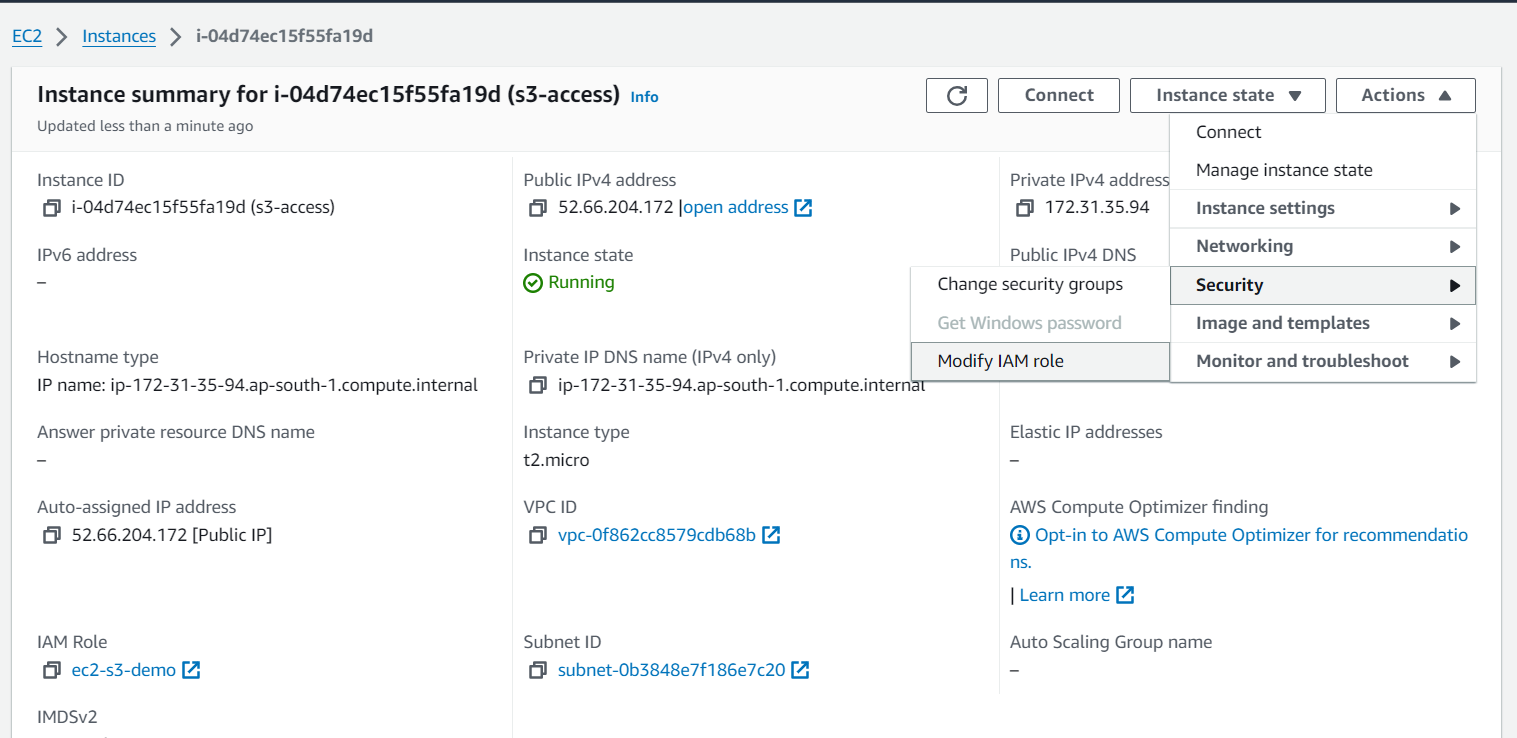
Go to the instance page. Select Security and Modify IAM role.
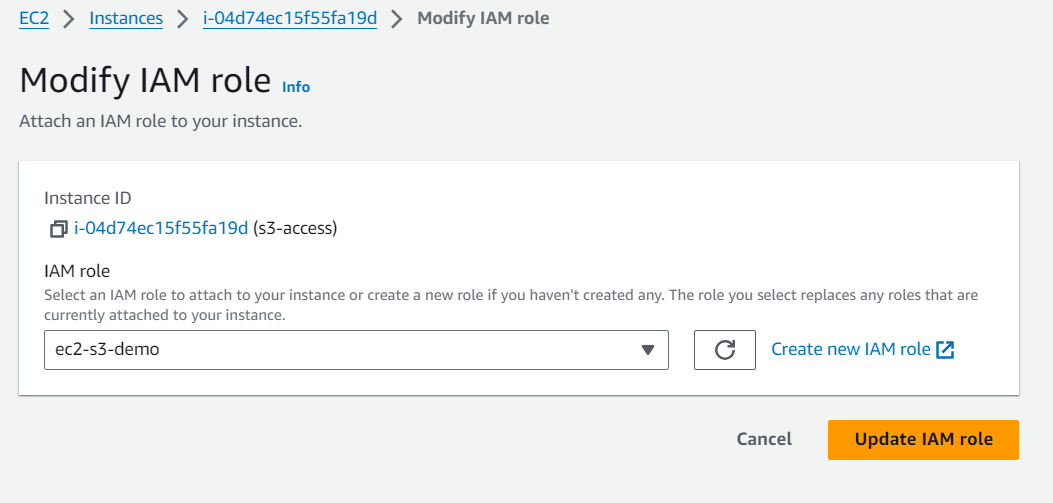
Choose the Roles created for this specific tutorial. Click on Update IAM role button.
Now you can run the command without any error.

Let's create a file names hello.txt and put some texts within it.
touch hello.txt
echo "Hello Developers!" > hello.txt # Check my Linux related Blogs
cat hello.txt

Now let's put this hello.txt in the S3 bucket. Run the AWS cli command to do this. Use the bucket name you have given to avoid error.
aws s3 cp hello.txt s3://ec2-access-097654/hello.txt
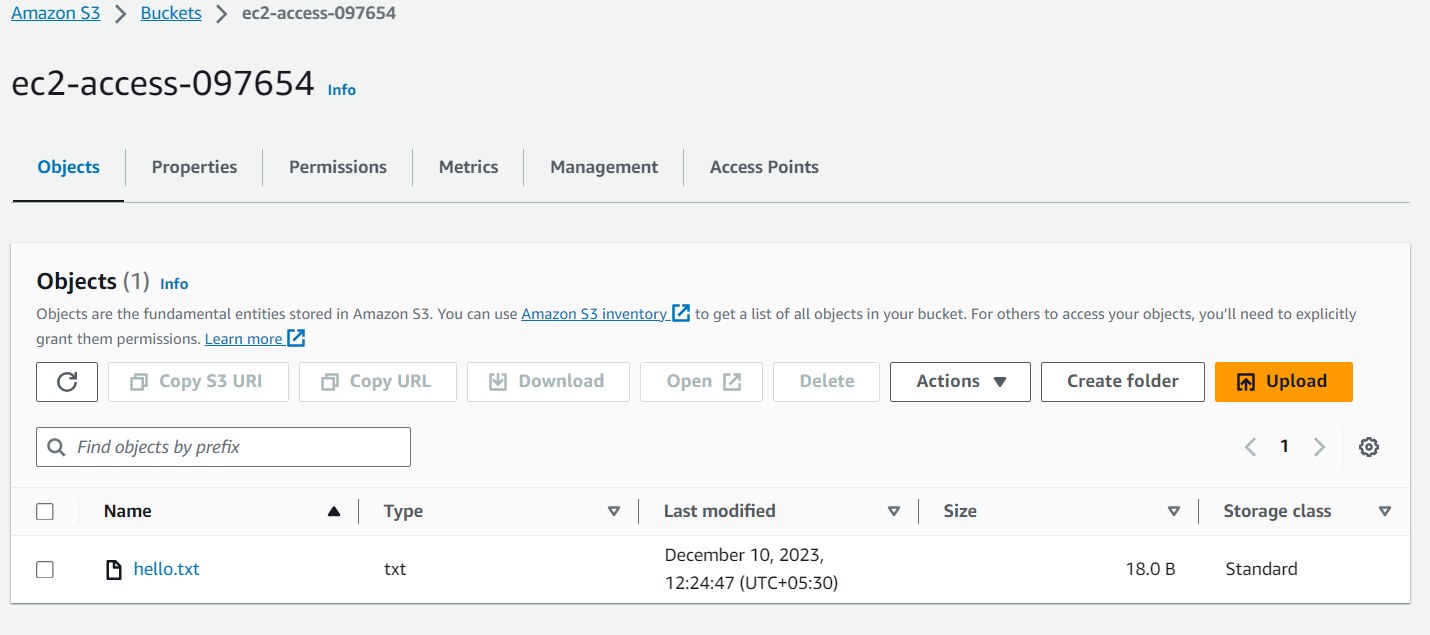
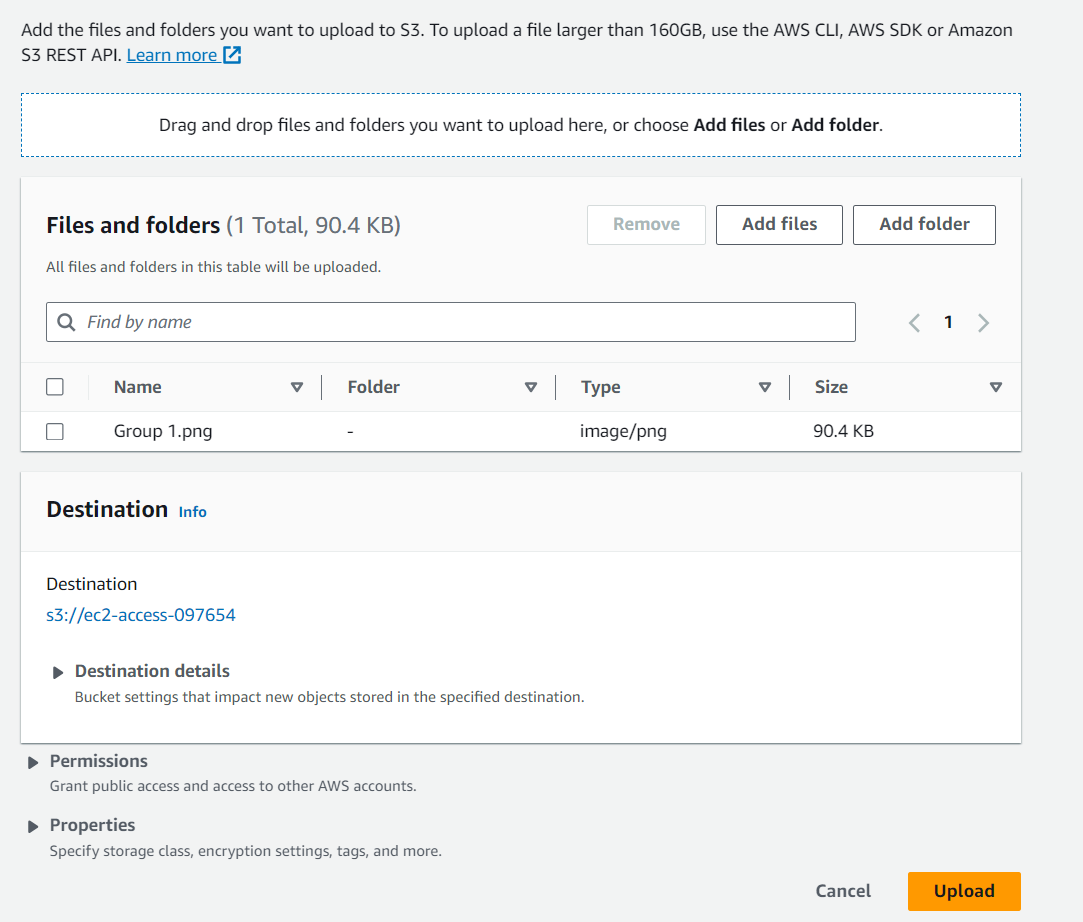
Let's upload a file in the bucket.
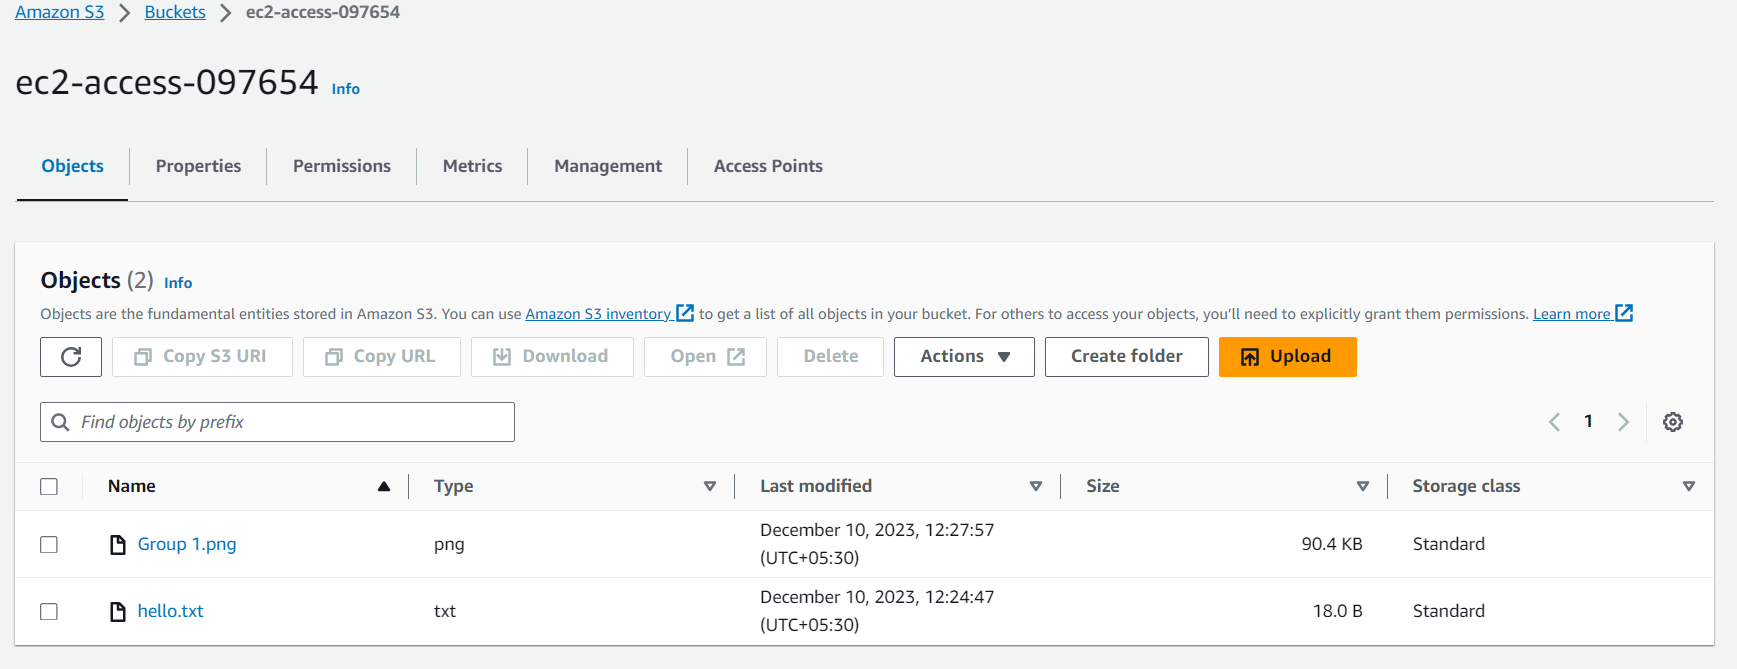
We will get this object from s3 to ec2. Run the following command to do this.
aws s3 cp "s3://ec2-access-097654/Group 1.png" ./ # As name had space so needed to put s3 URI in quotes
