Automating CI/CD Pipelines with GitHub, Jenkins, and AWS EC2: A Step-by-Step Guide
Accelerate Development with GitHub, Jenkins, and AWS EC2: A Comprehensive Guide to CI/CD

As a seasoned senior web developer with a wealth of experience in Python, Javascript, web development, MySQL, MongoDB, and React, I am passionate about crafting exceptional digital experiences that delight users and drive business success.
Embarking on the journey of Continuous Integration and Continuous Deployment (CI/CD) with Jenkins is an exciting step towards enhancing your development workflow. In this guide, we will walk you through the process of setting up Jenkins for CI/CD, assuming you already have an EC2 instance up and running. Ensure that you've generated a .pem file for secure login instead of using a password. Familiarity with AWS EC2 concepts will be beneficial as we delve into the implementation steps.
Additionally, for hands-on experience, create a private repository on GitHub and populate it with Python files. If possible, include one or two unit tests to further enrich your CI/CD pipeline. By the end of this article, you'll be well-equipped to seamlessly integrate Jenkins into your development workflow for efficient CI/CD.
Jenkins Setup
I have chosen to install Jenkins using Docker. I am using the image jenkins/jenkins:2.426.1-lts-jdk17. First, pull the image from the docker hub.
sudo docker pull jenkins/jenkins:2.426.1-lts-jdk17
Once, the image is pulled verify using sudo docker images | grep jenkins/jenkins command.

Now create and start the Jenkins container
sudo docker container run -d -p 8080:8080 \
--name jenkins jenkins/jenkins:2.426.1-lts-jdk17
-d detaches the container from the command line once created.
-p publishes container port 8080 to host's port 8080. If you want you can set the host's any available port such as port 80.
--name assigns a name to the container. You can set any name other than Jenkins but the name should be unique in the host machine.

Jenkins images do not come with Python or Node.js installed. So, if you need to run any test or need control over your environment opt for the traditional installation method. Follow here.
Now, open http://localhost:8080/ in the browser. If you have installed Jenkins on a Cloud Virtual Machine like EC2 and Azure VM then open and try accessing Jenkins using the IP address of that VM.
The first thing you will see is a loading page saying Please wait while Jenkins is getting ready to work .... Wait until Jenkins redirects you to a sign-in page.
Open the Jenkins container's bash to search for the password.
sudo docker exec -it jenkins bash
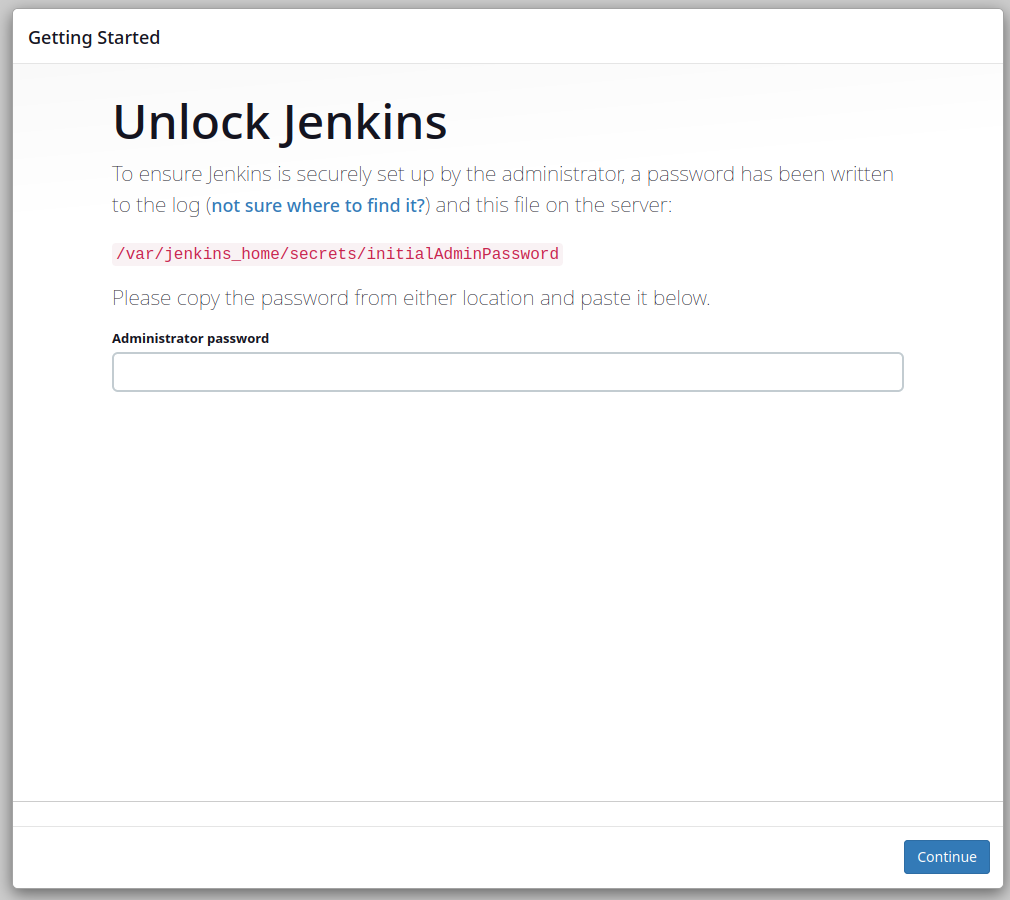
Run cat /var/jenkins_home/secrets/initialAdminPassword in bash.

Copy the password and follow the below steps
Enter the admin password and press continue
Install suggested plugins
Create a user by entering your preferred username, password, full name and email
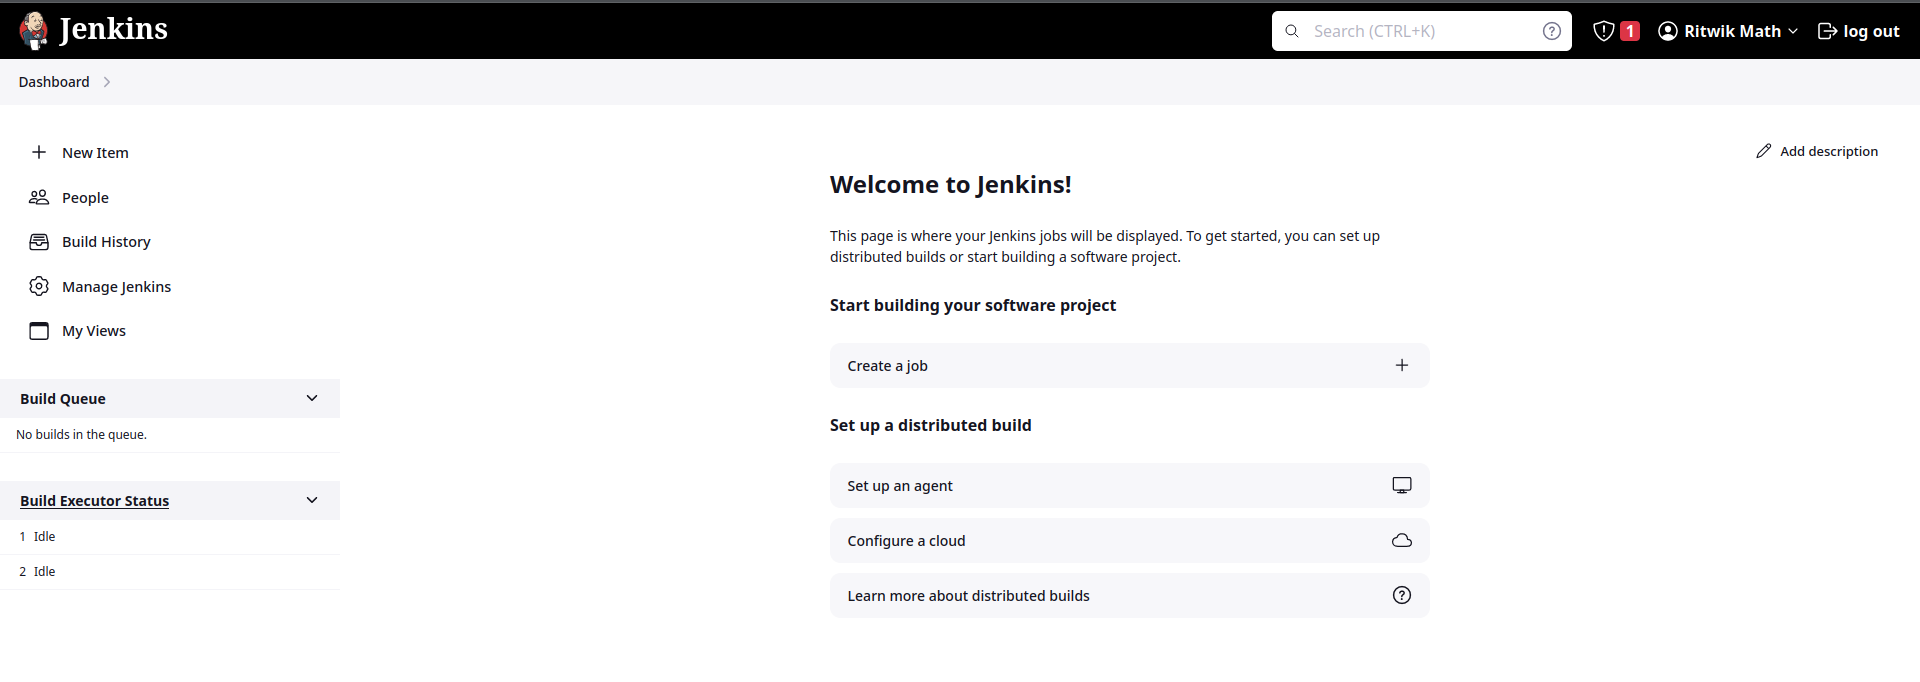
You will see the dashboard of the Jenkins
Create Freestyle Project
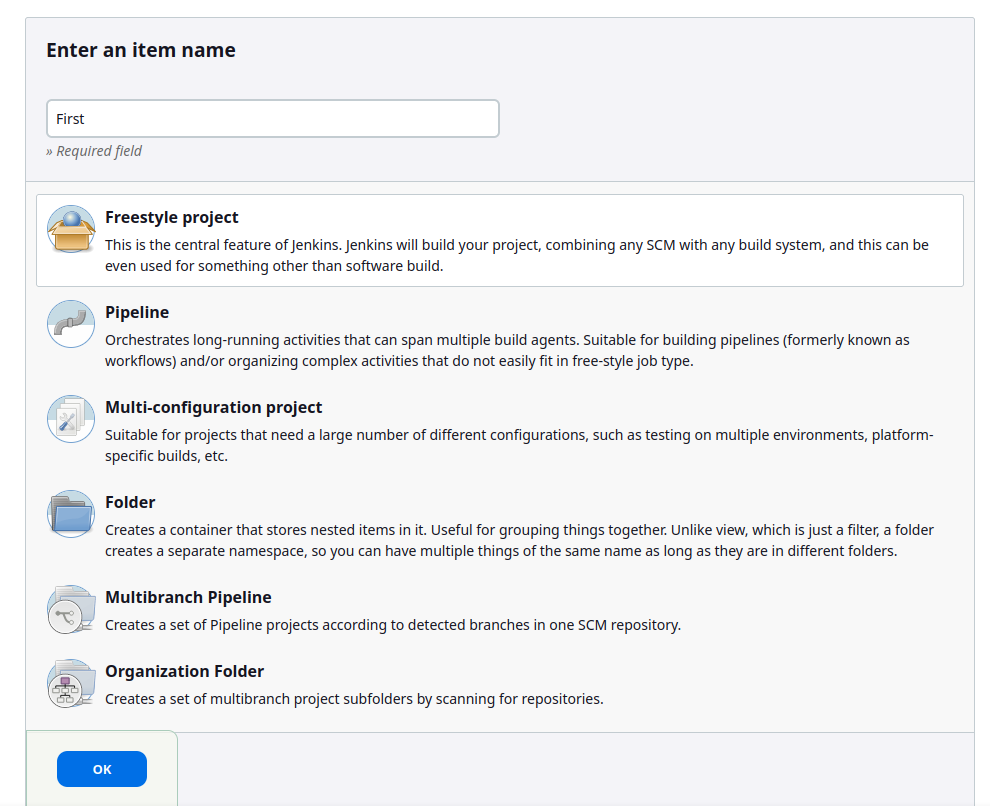
Click on New Item at the top-left corner of the dashboard. Give any name to the project, select Freestyle project and then select OK.
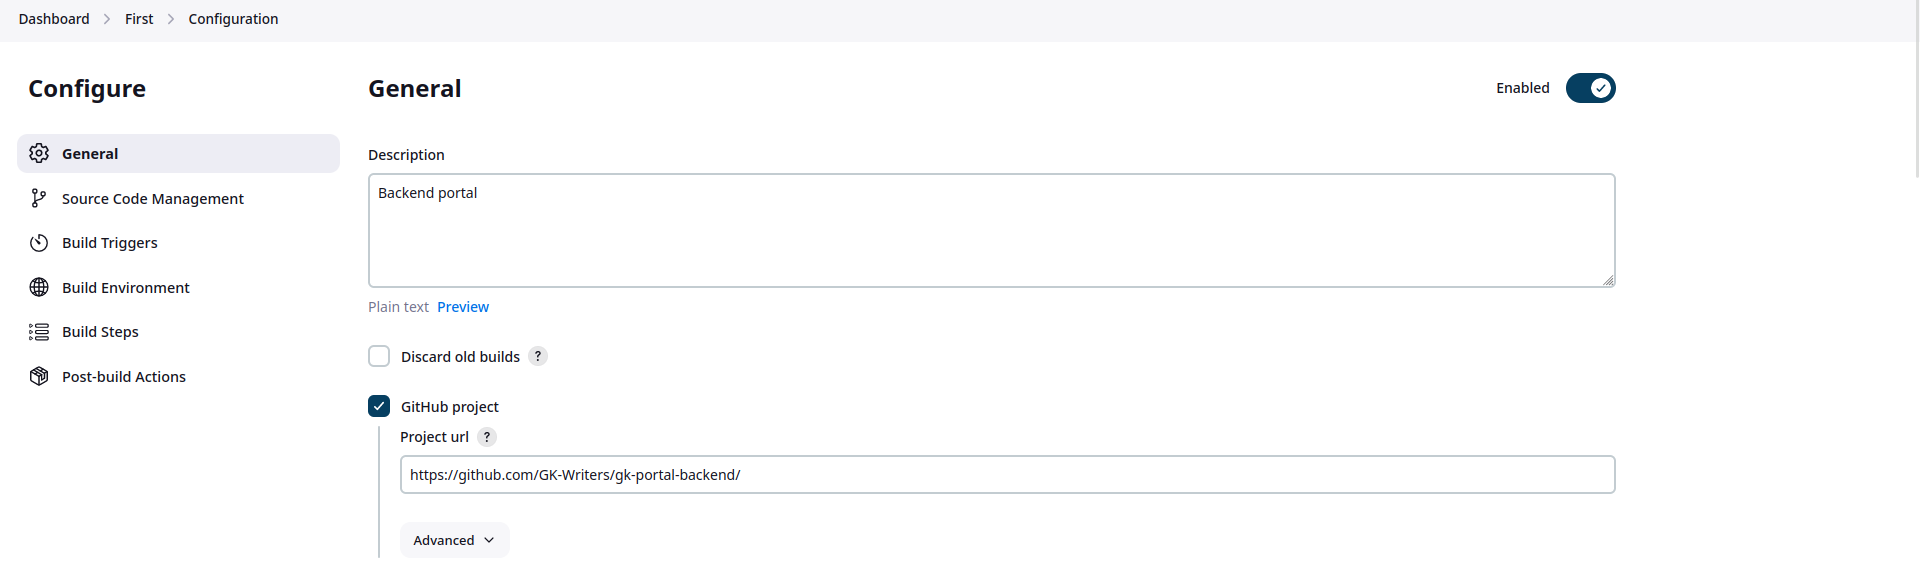
Now, you will be redirected to the configuration page. Here you have to mention the GitHub repository you want to work on. Add the project description and GitHub project URL.
Now go to the Github repository page and copy the HTTPs clone URL.
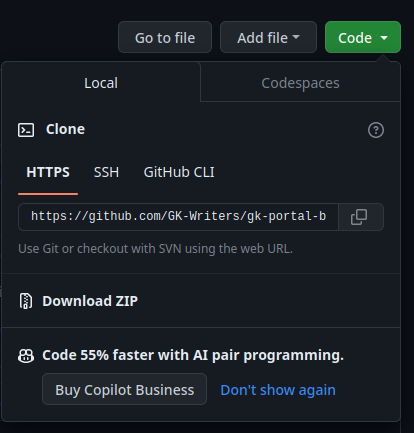
In the Source Code Management section, select git and paste the link in the repository URL field.
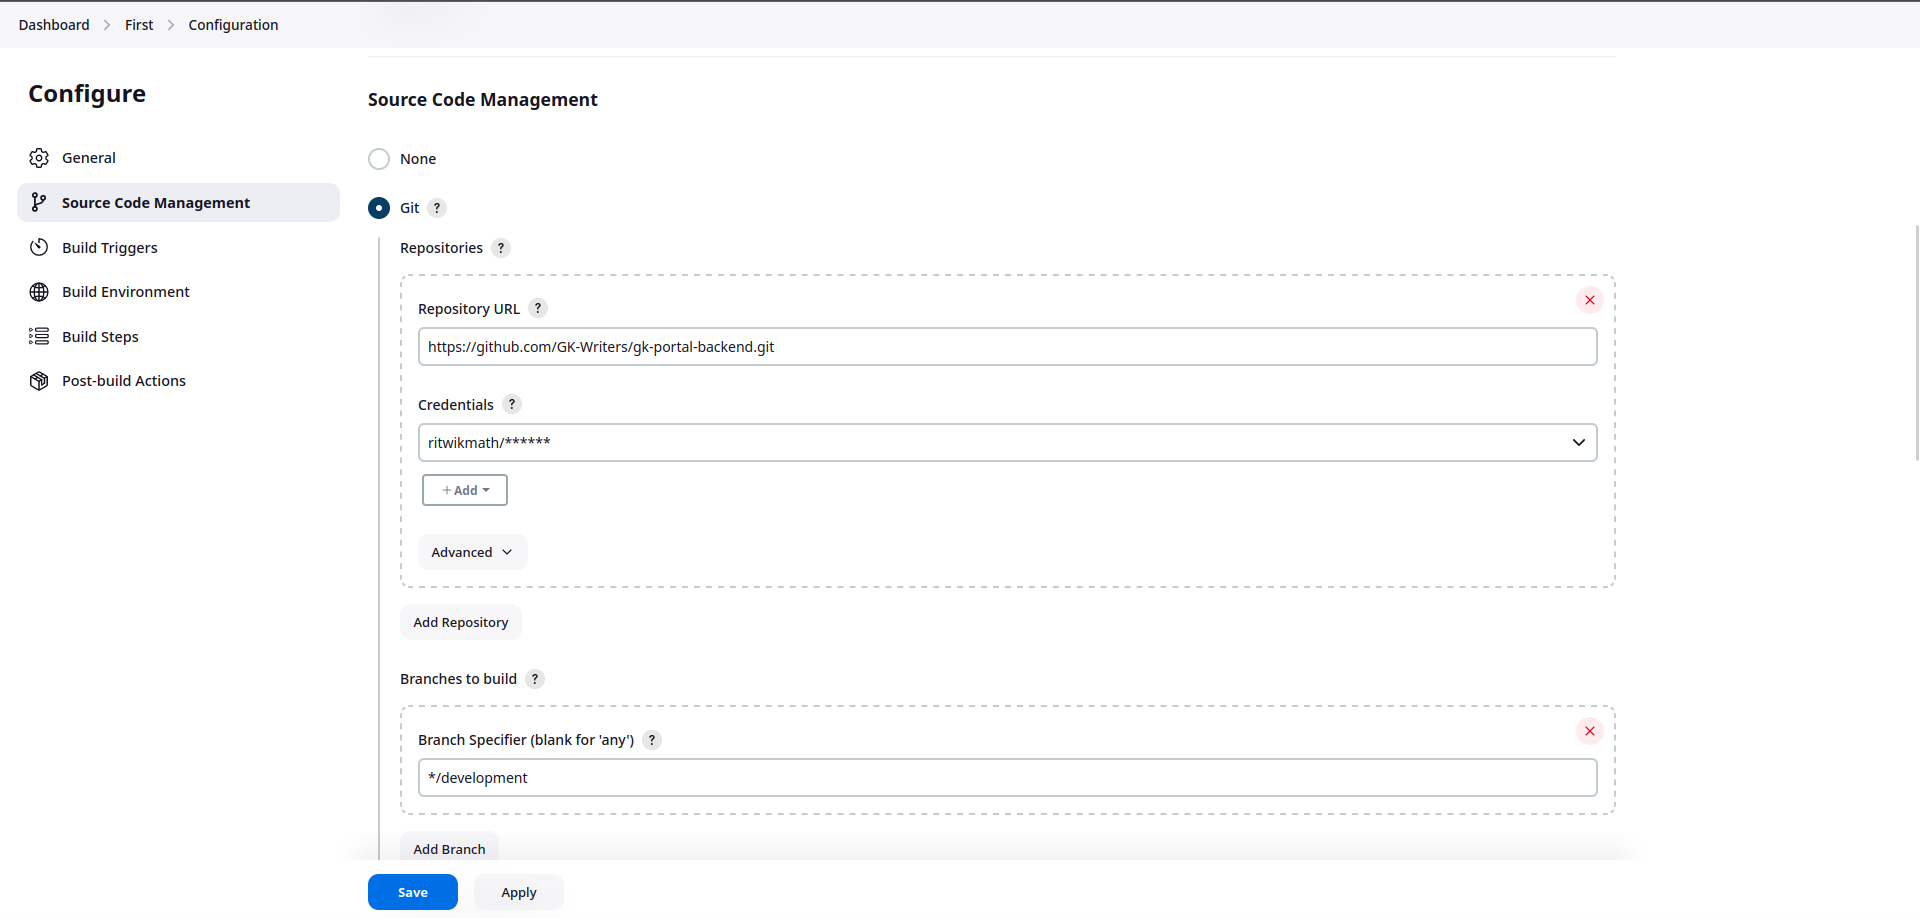
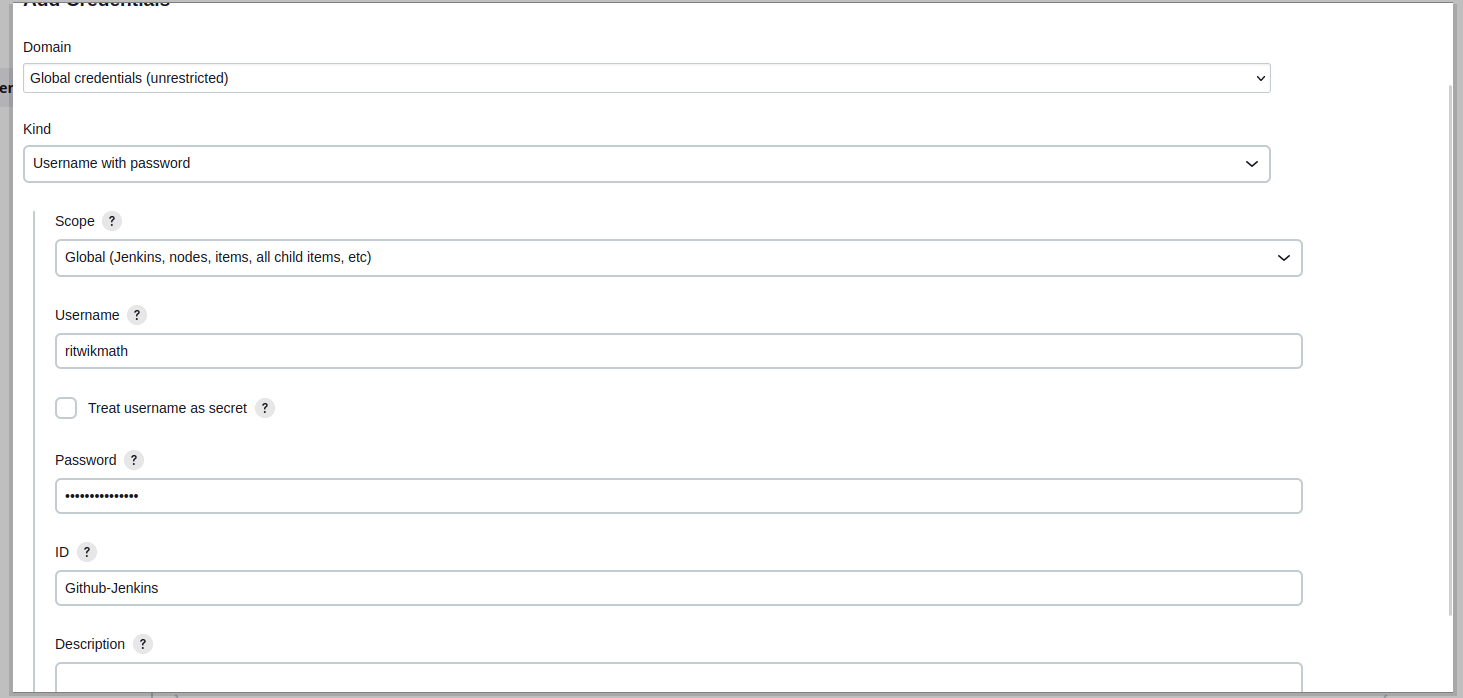
If you are using a public repository, then no need to add credentials. Otherwise, go to this URL and create a classic token with proper permissions. Copy the token and come back to the Jenkins project configuration page. Under credentials click on add. Kind should be username with password. In the username field provide Github username and in the password section paste the token. Give a suitable id that you can identify later. Click on add.
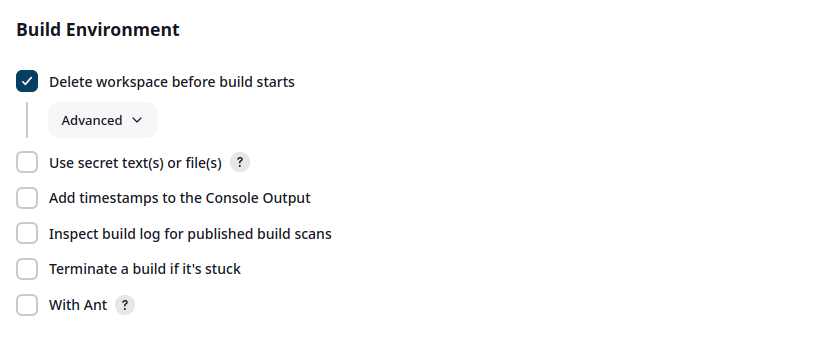
In the Build Environment section select Delete workspace before build starts. It will clear the workspace of the project before every build.
In the Build Steps section expand the Add build step option and select Execute Shell. Here you can write any command to check your project. I have written some tests so will run pytest.
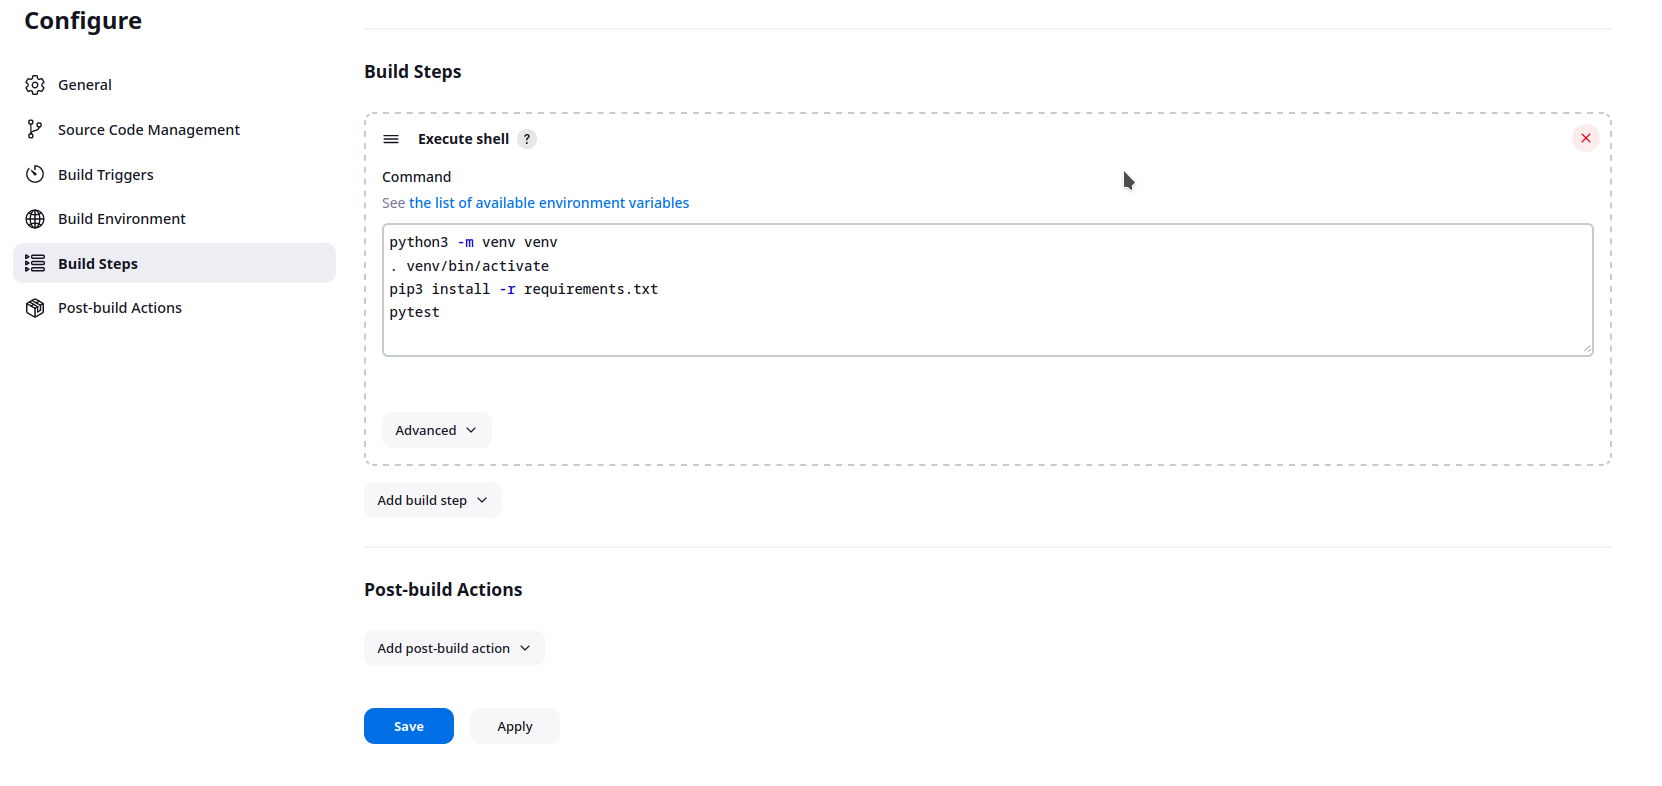
To install Python in a container open the shell as root and install Python.
sudo docker exec --user root -it jenkins bashto open container shell as root.
To run the tests need to add some environment variables. To add variables visit Dashboard > Manage Jenkins > System > Global properties
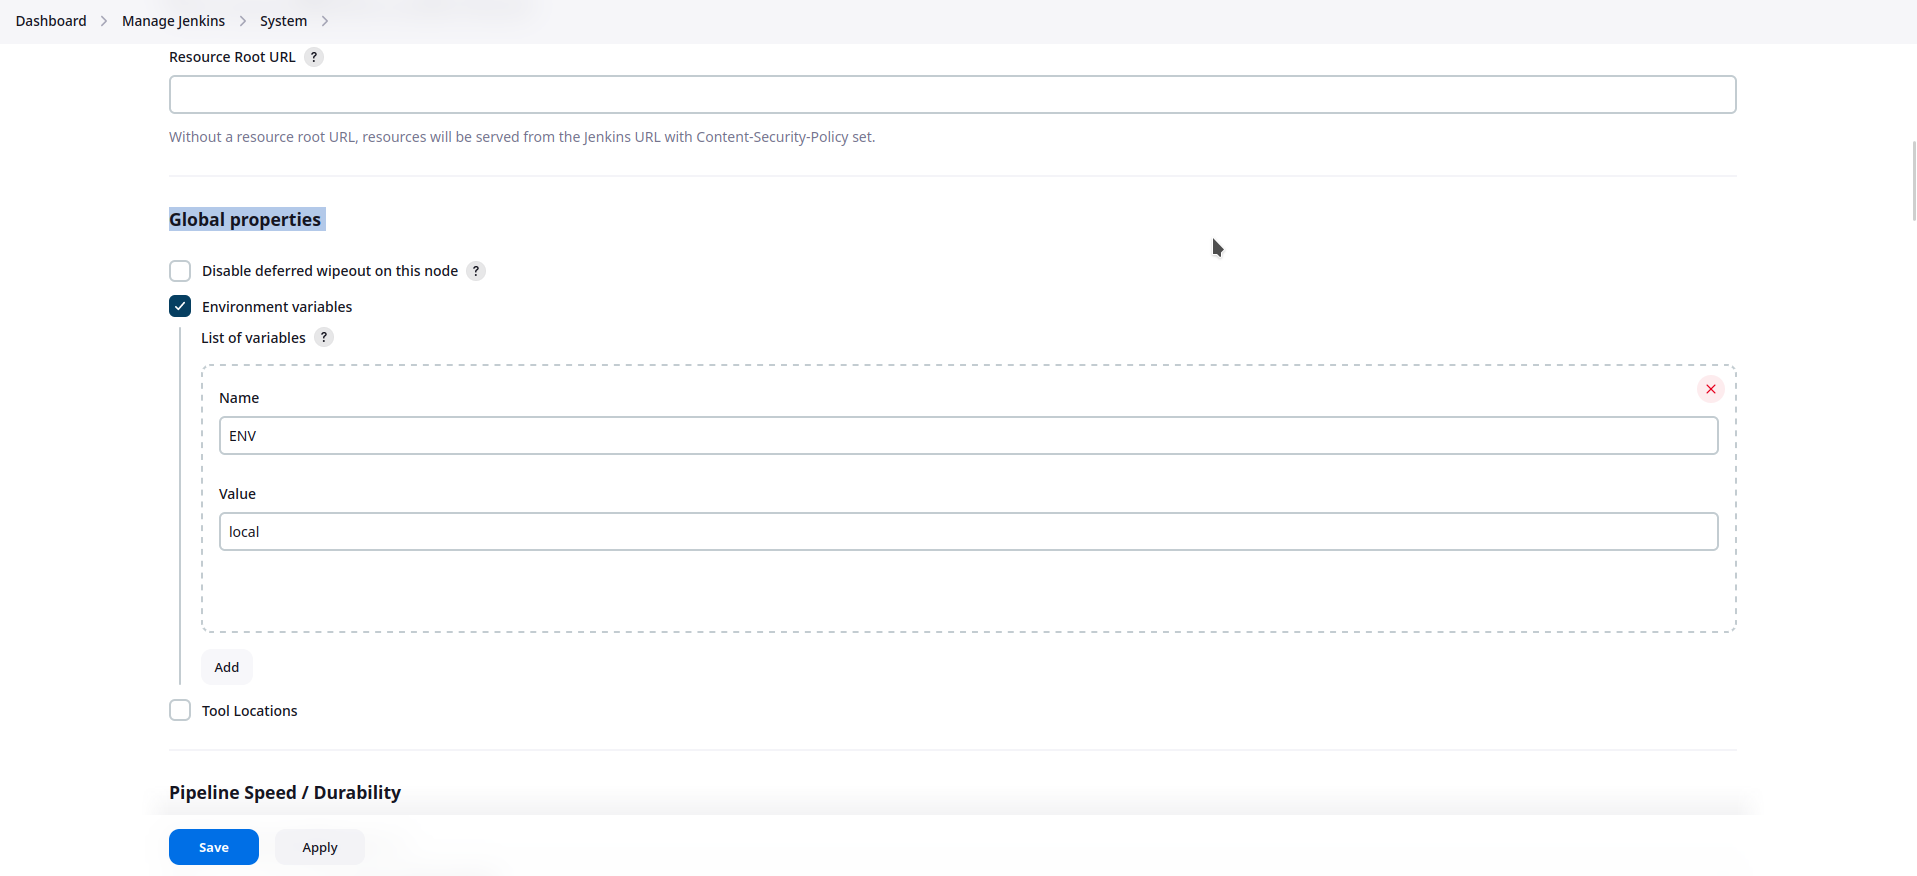
Save and run a build by clicking on Build Now.
The shell is working.

Deploy to AWS EC2
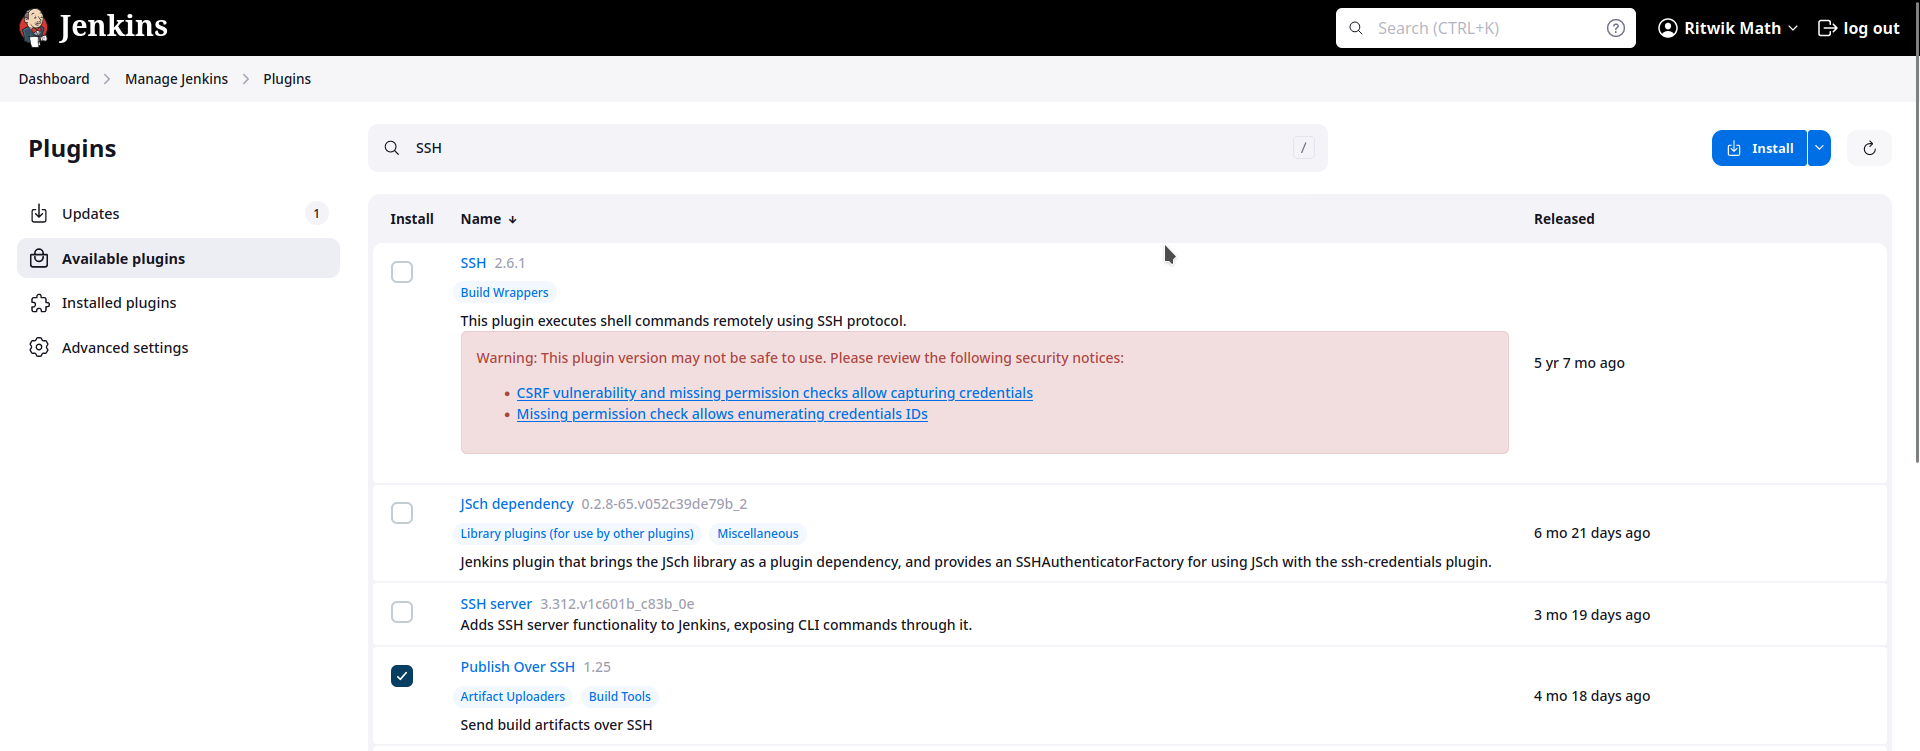
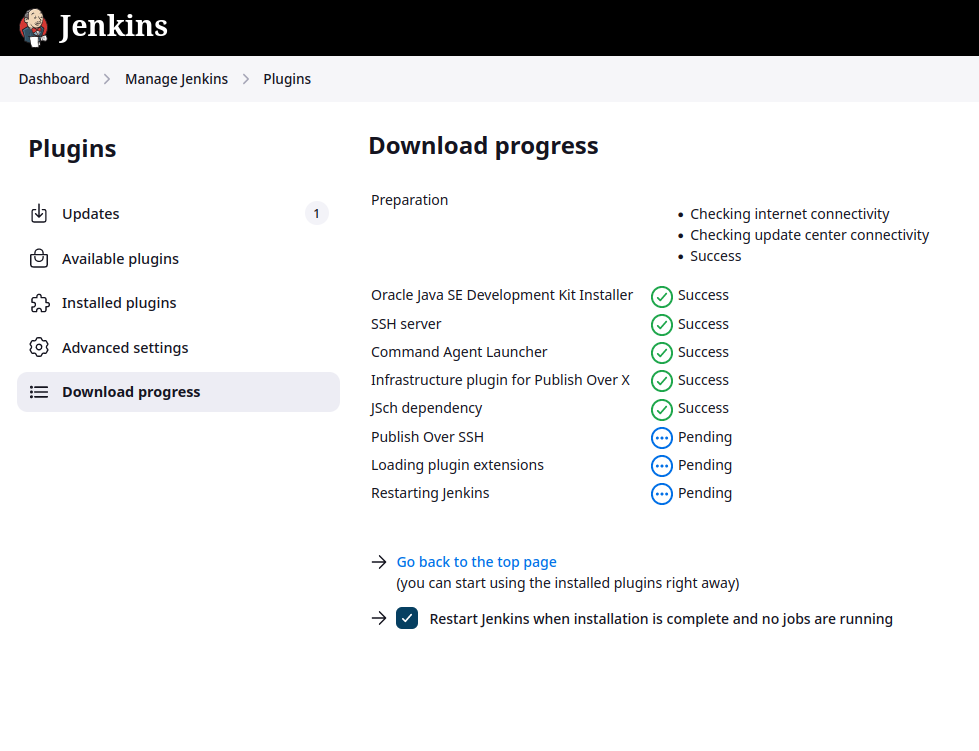
To deploy over EC2, we will use the plugin Publish Over SSH plugin. To install the plugin, search ssh in the available plugin and then click the checkbox. Click on install. Next page select Restart Jenkins when installation is complete...
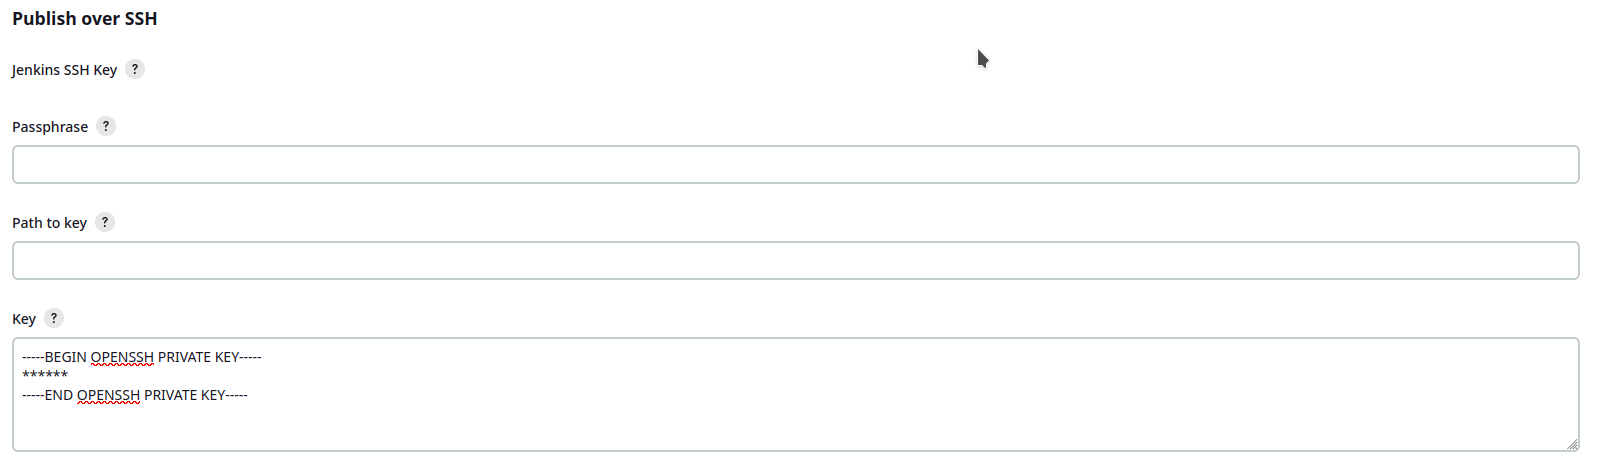
Once, installed, go to Dashboard > Manage Jenkins > System > Publish over SSH section. Now copy the content of the .pem file you created when creating AWS EC2 Instance. Paste the key in Key field.
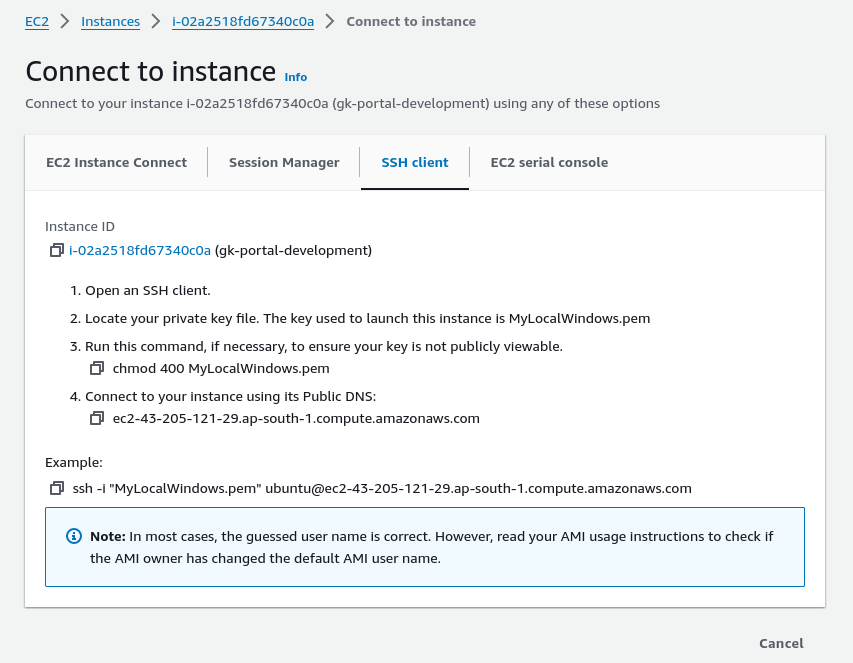
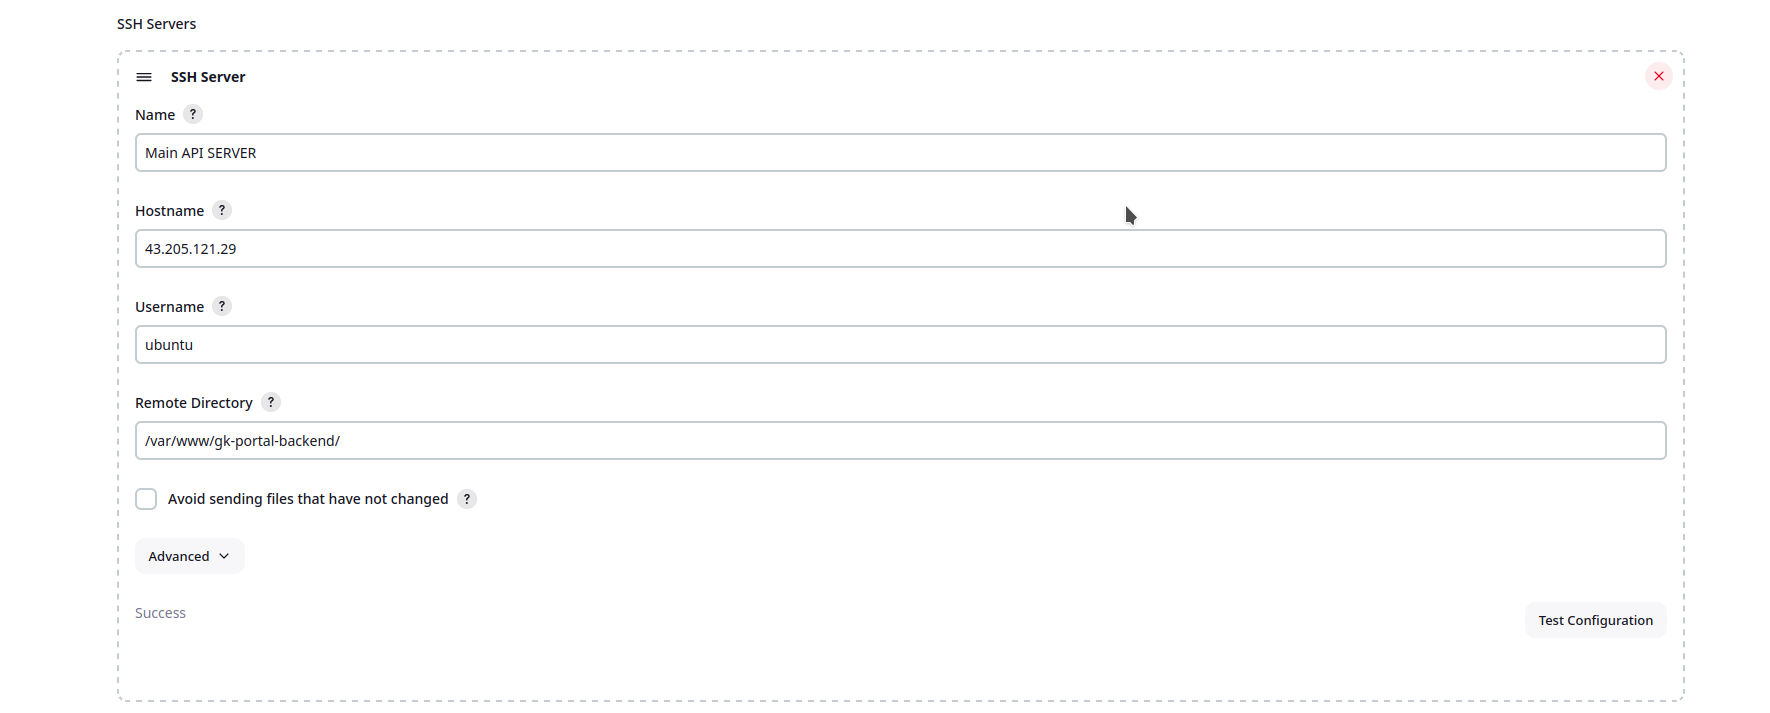
Under that, there is an Add button. Click on it and a form will appear. Give a suitable name. In the hostname, put the public IP of the server. The hostname is the user you want to log in as. Go to the Connect to Instance page and check the username. In case it is ubuntu.
The remote directory is the directory you want to open after login. My website is hosted in /var/www/gk-portal-backend/directory, you can put suitable as per your project. Now click on test configuration, if everything is right Success should appear.
Save the system configuration. Open the Project Configuration page and go to the Build Step section. Click on Add Build Step and select Send files or execute over ssh option.

If the AWS EC2 server is not selected by default then select it manually. In the Exec Command fiels write bash command to check we are redirecting to desired directory or not. Comment out the execute shell commands to make the process faster. Save teh configuration.
cd /var/www/gk-portal-backend
git log > ~/log.txt 2> ~/error.txt

If everything is done correctly, the output should be as follows.

Now that everything is working, change the command to
cd /var/www/gk-portal-backend
git pull origin development
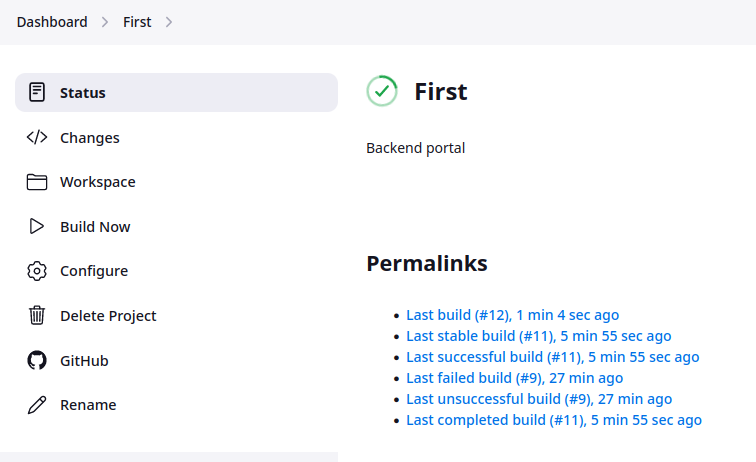
It's time to run a build. Go to the project page and click on Build Now.
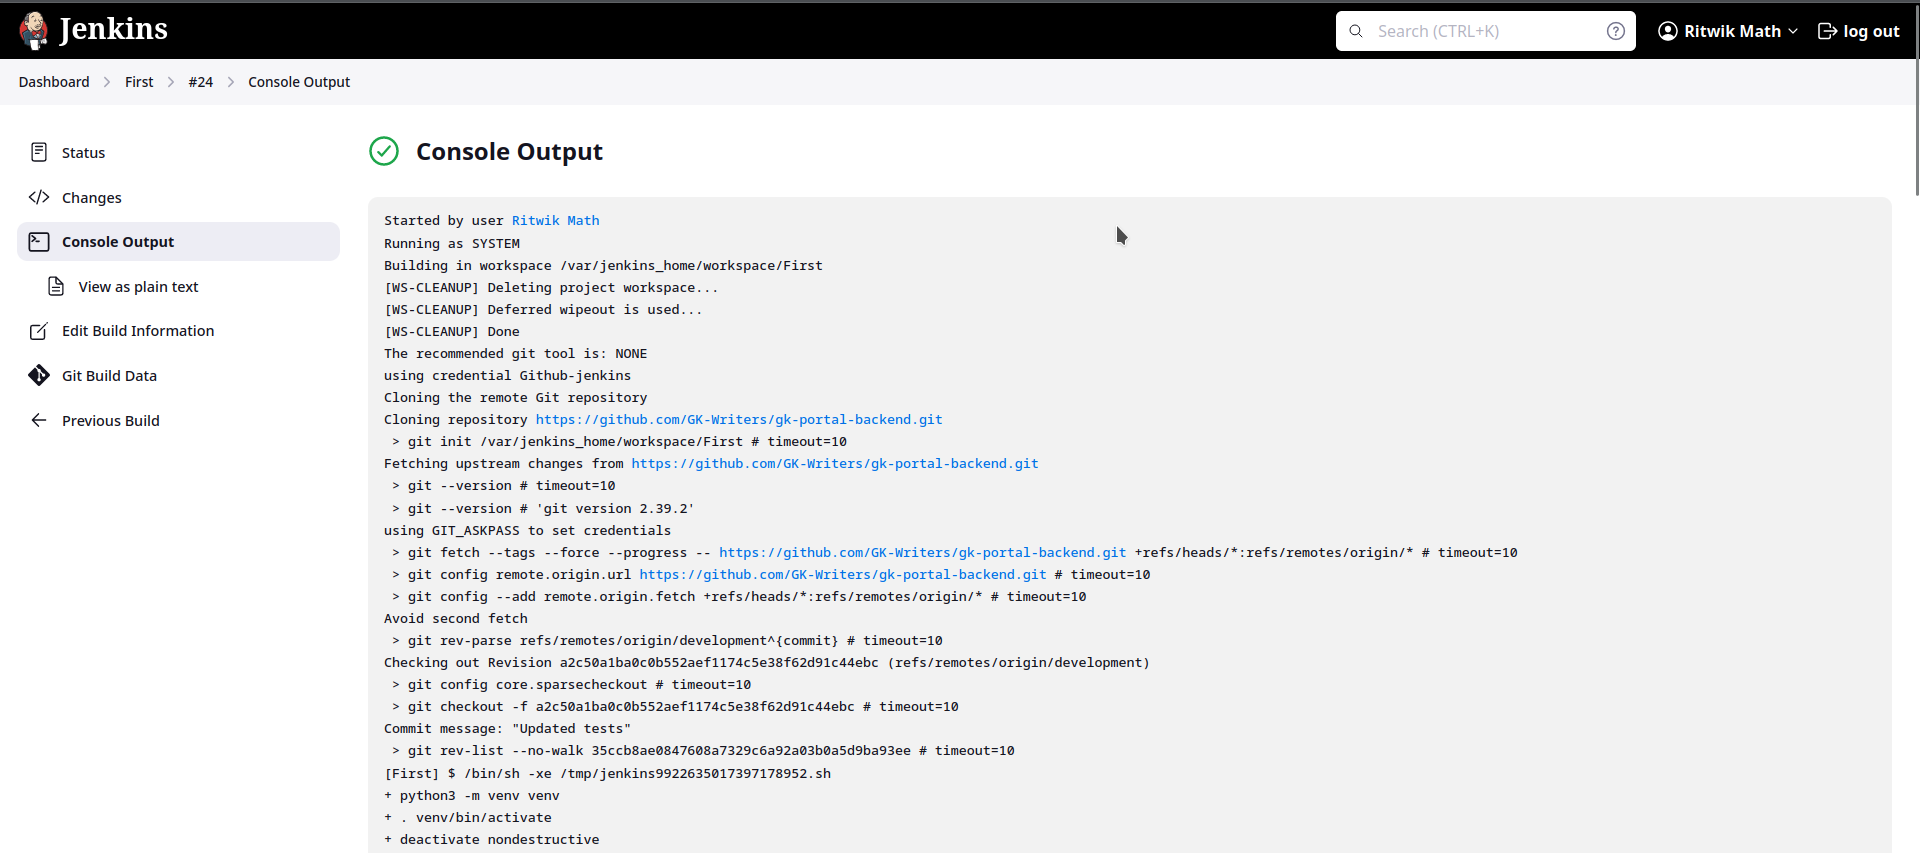
The build is completed. Let's check if the last log has been pulled in the server or not.
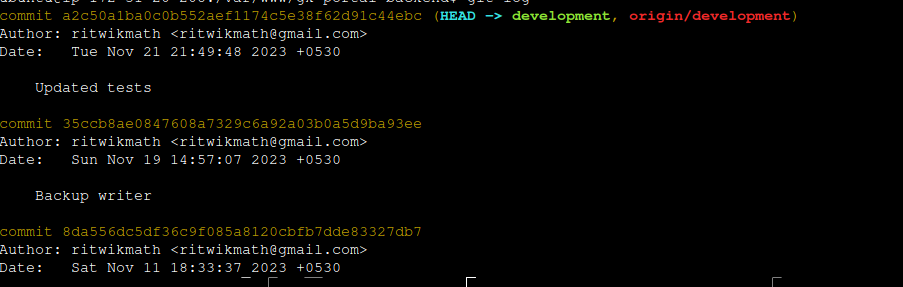
Updated tests is the last commit pushed to the repository. Everything is working as expected.